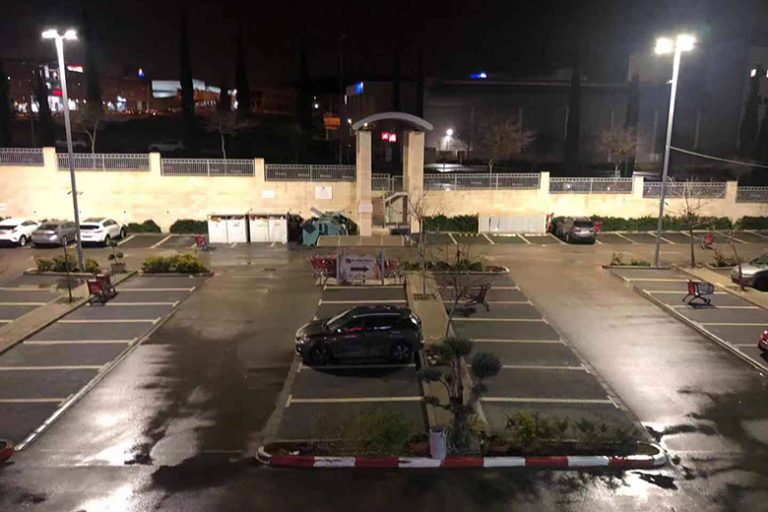
led flood light installation guide
In modern urban construction, LED floodlights are widely used in outdoor lighting due to their energy-saving, environmentally friendly, and efficient characteristics. LED floodlights are an ideal choice for commercial billboards, construction sites, sports fields, or large public areas. Proper installation is crucial to ensure optimal performance. The following is a detailed installation guide for LED floodlights to help you complete the installation process smoothly.
Step 1: Choose the appropriate location
It is crucial to determine the installation position of the floodlight. It is necessary to fully consider the lighting range to avoid generating excessive or insufficient light. Meanwhile, considering maintenance and safety factors, the location should be easily accessible and away from moisture and heat sources.
Step 2: Prepare installation tools and materials
Before starting the installation, please prepare the necessary tools and materials, usually including screwdrivers, electrical tape, cables, switches, and junction boxes. Ensure that all tools are in good condition to avoid any malfunctions that may affect the installation process.
Step 3: Assemble the floodlight
Open the packaging of the LED floodlight and carefully check if all accessories are complete according to the instructions. Then, assemble according to the product manual. Usually, this involves fixing the lamp body components to the base and connecting the power cord to the controller.
Step 4: Wiring work
Before wiring, please make sure to cut off the main power supply to ensure safety. According to electrical specifications, connect the power cord of the floodlight to the junction box and seal it with electrical tape. If you are not familiar with electrical work, it is recommended to hire a professional electrician to complete this step.
Step 5: Install and fix
Choose the appropriate angle and direction to fix the floodlight in the predetermined position. Expansion screws are usually used to ensure that the luminaire is securely installed on the wall or ceiling. Please check if the installation point is sturdy and able to withstand the weight of the floodlight.
Step 6: Testing and Adjusting
After completing the installation, restore power supply and conduct preliminary testing. Check if the lights are working properly and if there are any flickering or non illuminating conditions. Adjust the lighting angle to ensure that the lighting range meets the requirements. If there is any abnormality, immediately turn off the power and conduct an inspection.
Step 7: Maintenance Tips
It is necessary to regularly clean the dust and dirt on the surface of LED floodlights to extend their service life. At the same time, check if the fixing parts are loose, and if there is any wear on the power cord and connections.

